Installation of Splunk
Installing Splunk on Ubuntu Server
In previous article, we looked at benefits of having Splunk in an organisation. In this article, we will be looking at how we can get Splunk Instance installed on a server and access it from our client machine.

Content Table
- Installation of Ubuntu Server
- Installation of Splunk Enterprise
First we need to install Operating System where we will be running our Splunk Tool from, we can install lite version, which doesn't take up much space on our hardware and runs on terminal.
Ubuntu Server is a great lite weight OS that build for servers without any background software that could slow the machine or interfere with server operation .
- Download Ubuntu Server Long Term Support (LTS)
- Set-up Virtual Box using the ISO downloaded
- Ensure Network Connection is set to Bridged Adapter
- Run the VM and follow the on-screen instructions
- Update installation packages this command
sudo apt-get update && upgrade
Once Linux OS is ready, we can go ahead and install Splunk
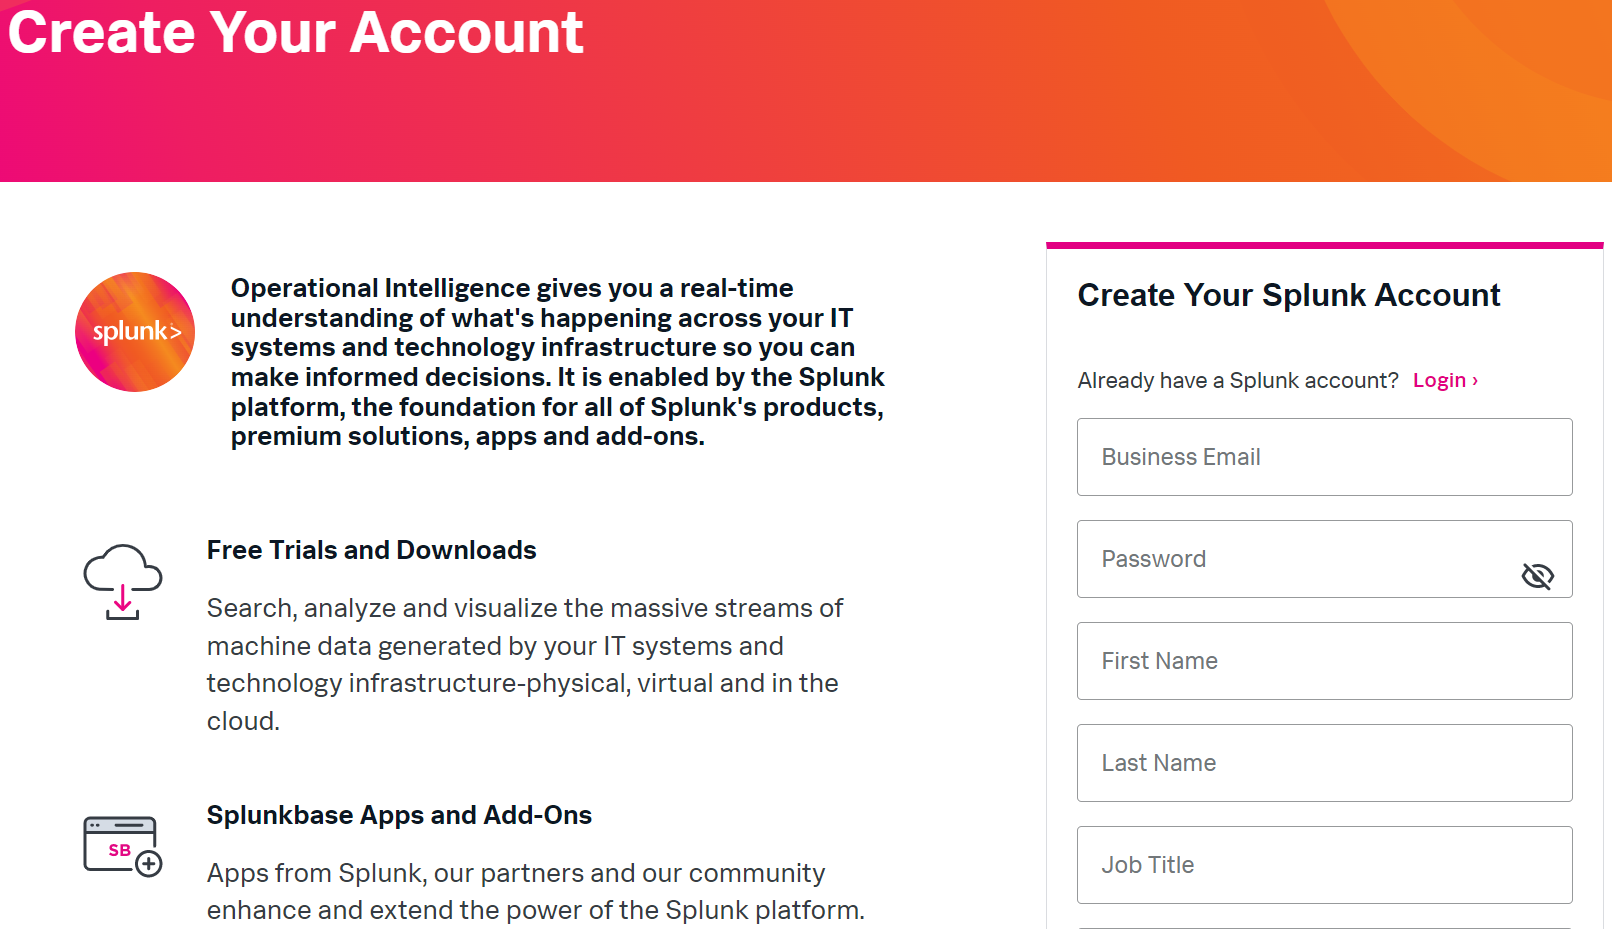
- Register on Splunk website to download Splunk Enterprise
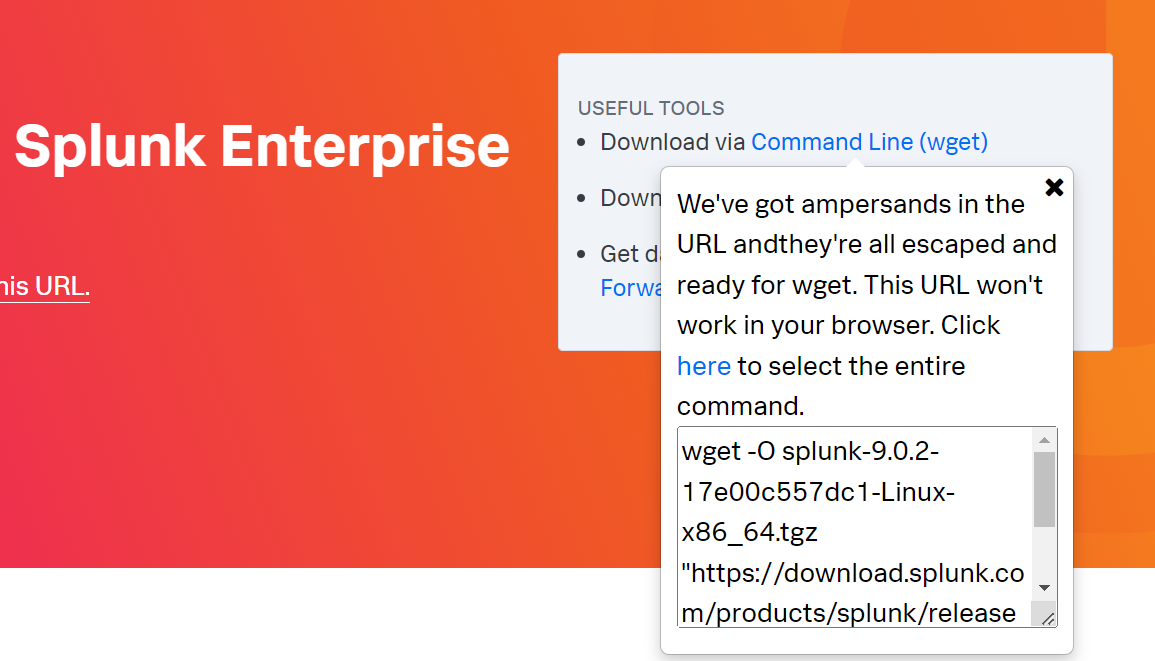
- Click on .tgz download button and copy the wget link for Command Line download
- On Ubuntu server, navigate to
cd /tmp/then past the wget link we copied - Once the download is completed, navigate to
cd /opt/directory - Extract files to using command
sudo tar xvf /tmp/splunk-9.0.2-17e00c557dc1-Linux-x86_64.tgzYour version of Splunk will be different. Press Tab key after typing splunk to auto complete filename. - We should have fully fully fledged Splunk Installation inside
/opt/splunkfolder - Run this final command to install the Splunk
sudo /opt/splunk/bin/splunk start --accept-license - First time we run this command, it will launch the Splunk install, which suggest us to create an administrator account before starting Splunk.
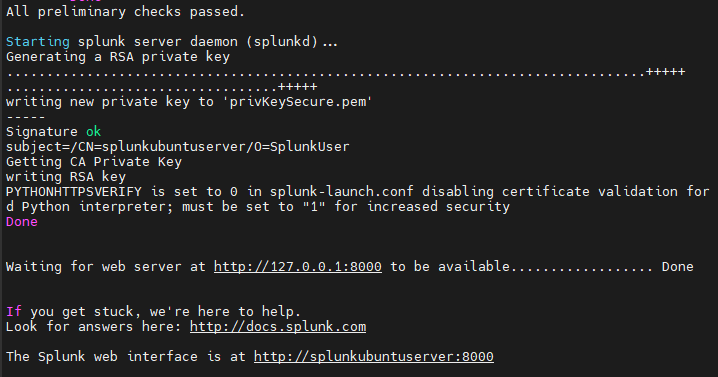
- Now, we should able to access Splunk on one of the following URL
https://127.0.0.1:8000orhttps://<servername>:8000 - Enter the following command to make Splunk start at boot up
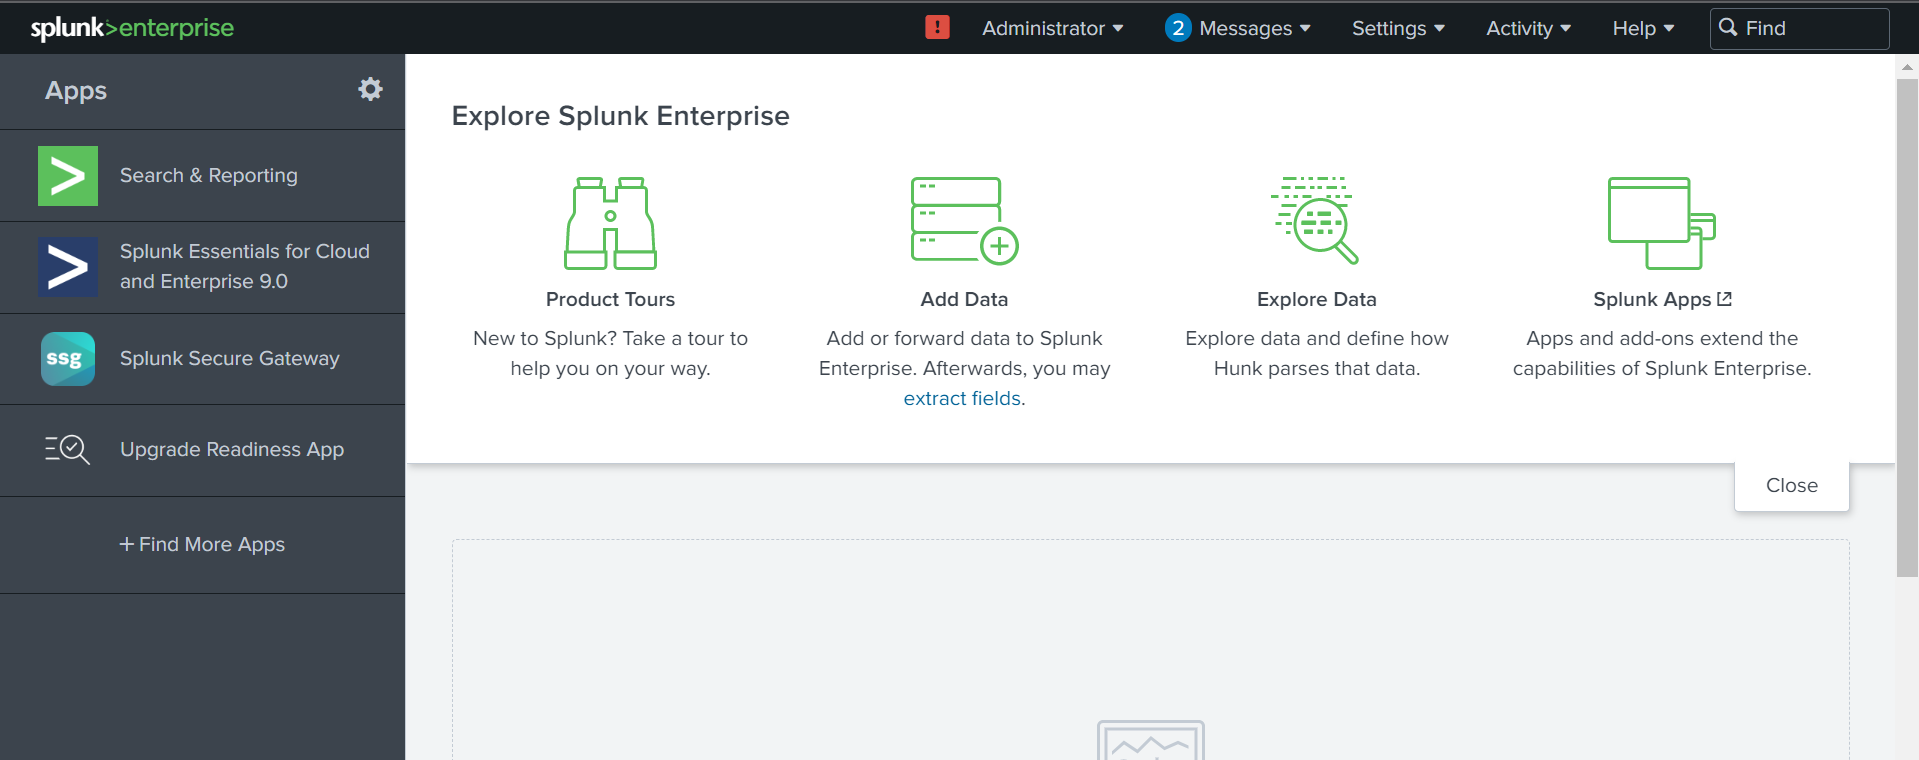
sudo ./splunk enable boot-start - Splunk Dashboard will be ready to access with our admin credentials
Visual Guide : Installation of Splunk
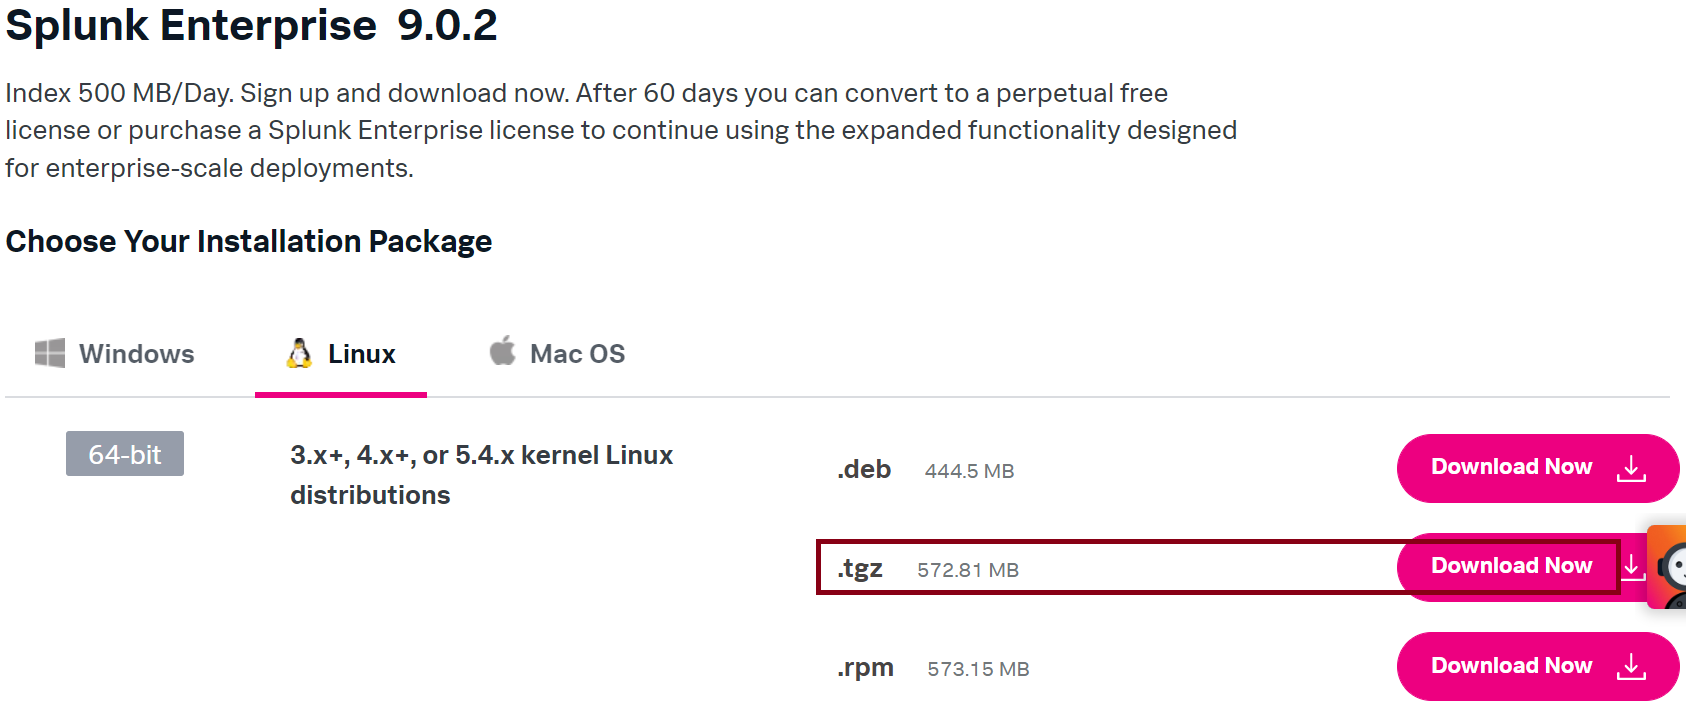
.tgz file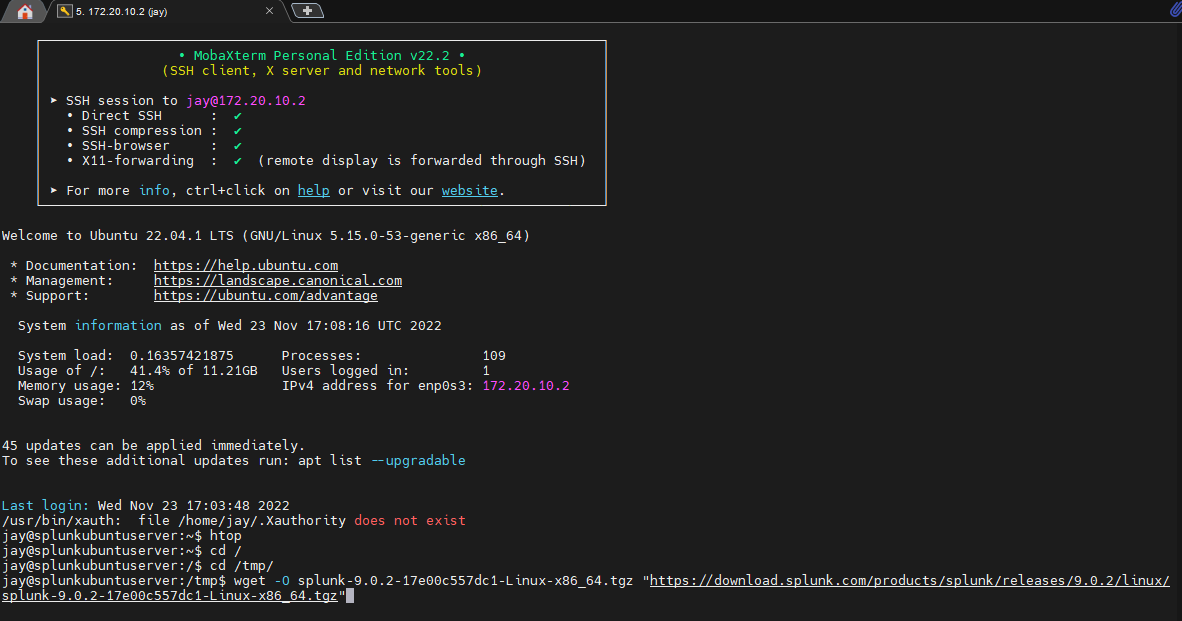
/tmp/ folder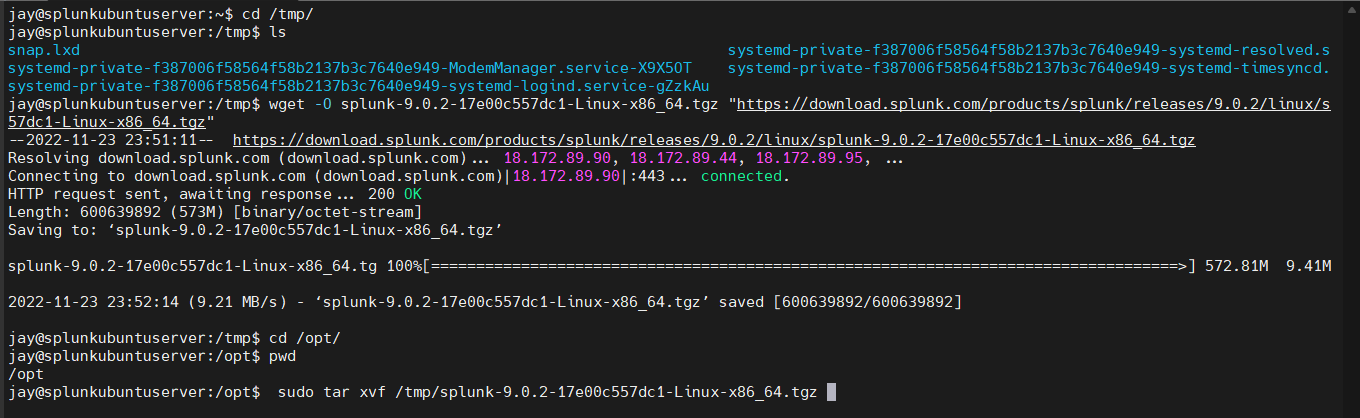
.tgz file to /opt/ directory, where splunk should live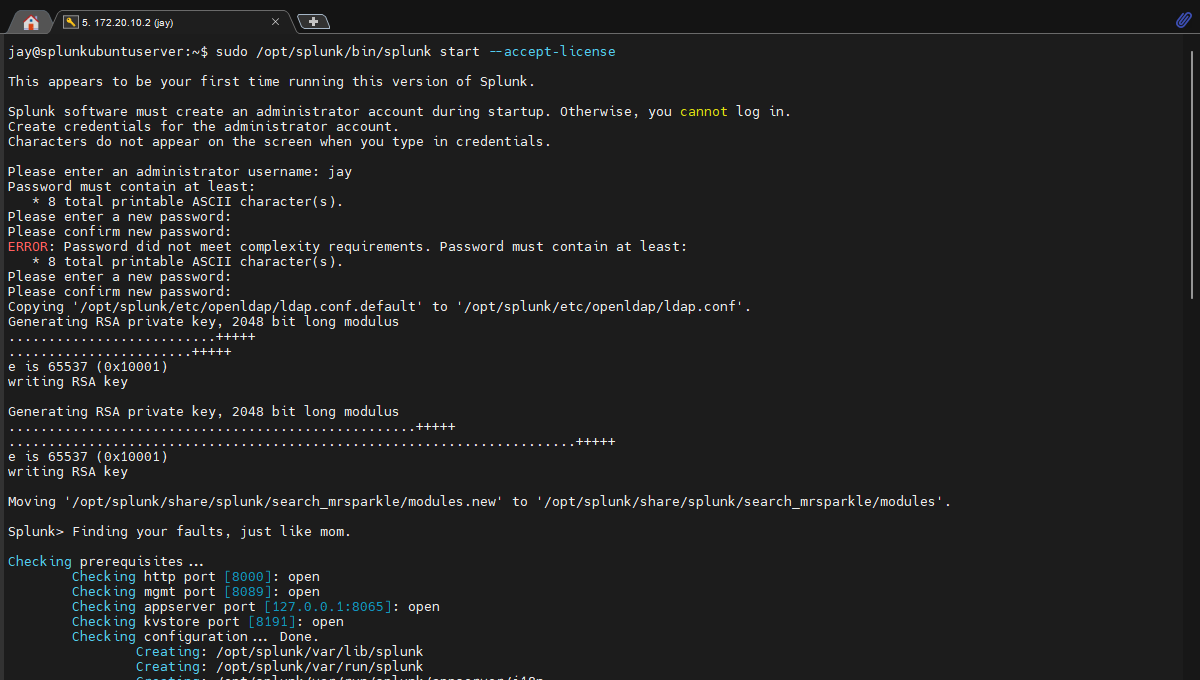


When logged into Splunk Enterprise, It should give us option to for Apps, Dashboard, Index, Visuals and more advanced settings, which we will be covering on next article.
Member discussion