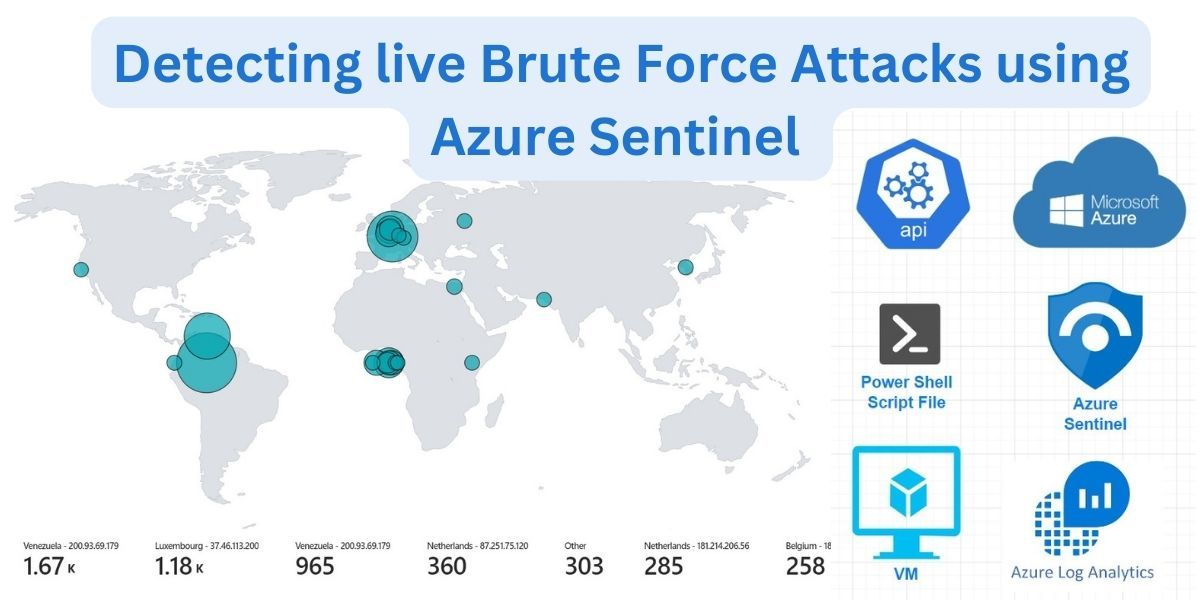
Detect brute-force attacks and mapping it through Azure Sentinel.

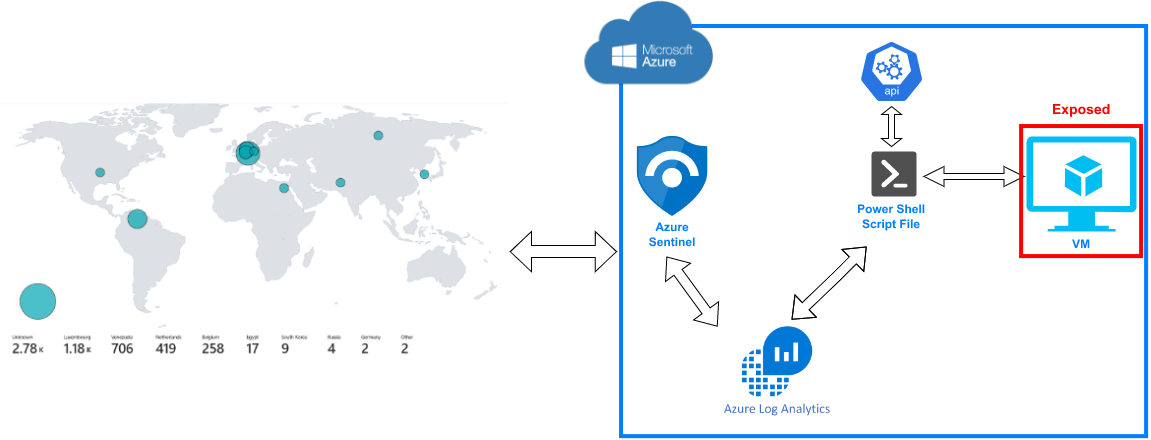
This project involves exploring methods for making virtual machines accessible to the world, even in the absence of a firewall. Additionally, we will monitor for unsuccessful login attempts originating from different countries by extracting geo-location data from IP addresses and map the data point it onto a world map.

Before we dive into the project, we will look at another SIEM from Microsoft below.
Azure Sentinel is a cloud-native security information and event management (SIEM) tool developed by Microsoft. It provides a centralized view of security across an organization's entire hybrid cloud estate, including on-premises systems and multi-cloud environments. With Azure Sentinel, security teams can collect and analyse data from various sources, including applications, devices, and infrastructure, to detect and respond to threats in real-time.
The tool leverages machine learning and artificial intelligence to automate threat detection and response, freeing up security analysts to focus on higher-value tasks. Additionally, Azure Sentinel provides security orchestration and automated response (SOAR) capabilities to help automate the response to security incidents, reducing response time and improving overall security posture.
Table of content
- Create a Azure Account with £200 free credit
- Create a Virtual Machine (VM)
- Disable Firewall on VM
- Create Log Analytics workspace (Custom Log)
- Allow Logs to be collected from VM
- Set-up Azure Sentinel
- Remote into VM (RDP)
- Turn off Firewall on Windows OS
9.1 Creating a PowerShell Script on VM
9.2 Get an API Key
10. Update sample Custom Log file from PowerShell
11. Create custom field from logs (Regular Expression)
12. Configure Azure Sentinel map (Geolocation based on log)
- Create a Azure Account with £200 free credit here

2. Create a Virtual Machine (VM)


3. Disable Firewall on VM and make it enticing to hackers.


Allow all the traffic to the VM from outside word.


4. Create Log Analytics workspace (Custom Log).

Select the VM instance created on previous task under drop down list on Resource Group


5. Allow logs to be collected from VM.


5.1 Connect Log Analytics workspace to our VM (Honeypot-VM) we have created on step 2


6. Set-up Azure Sentinel.

Select the Log Analytics we want to connect all our logs.

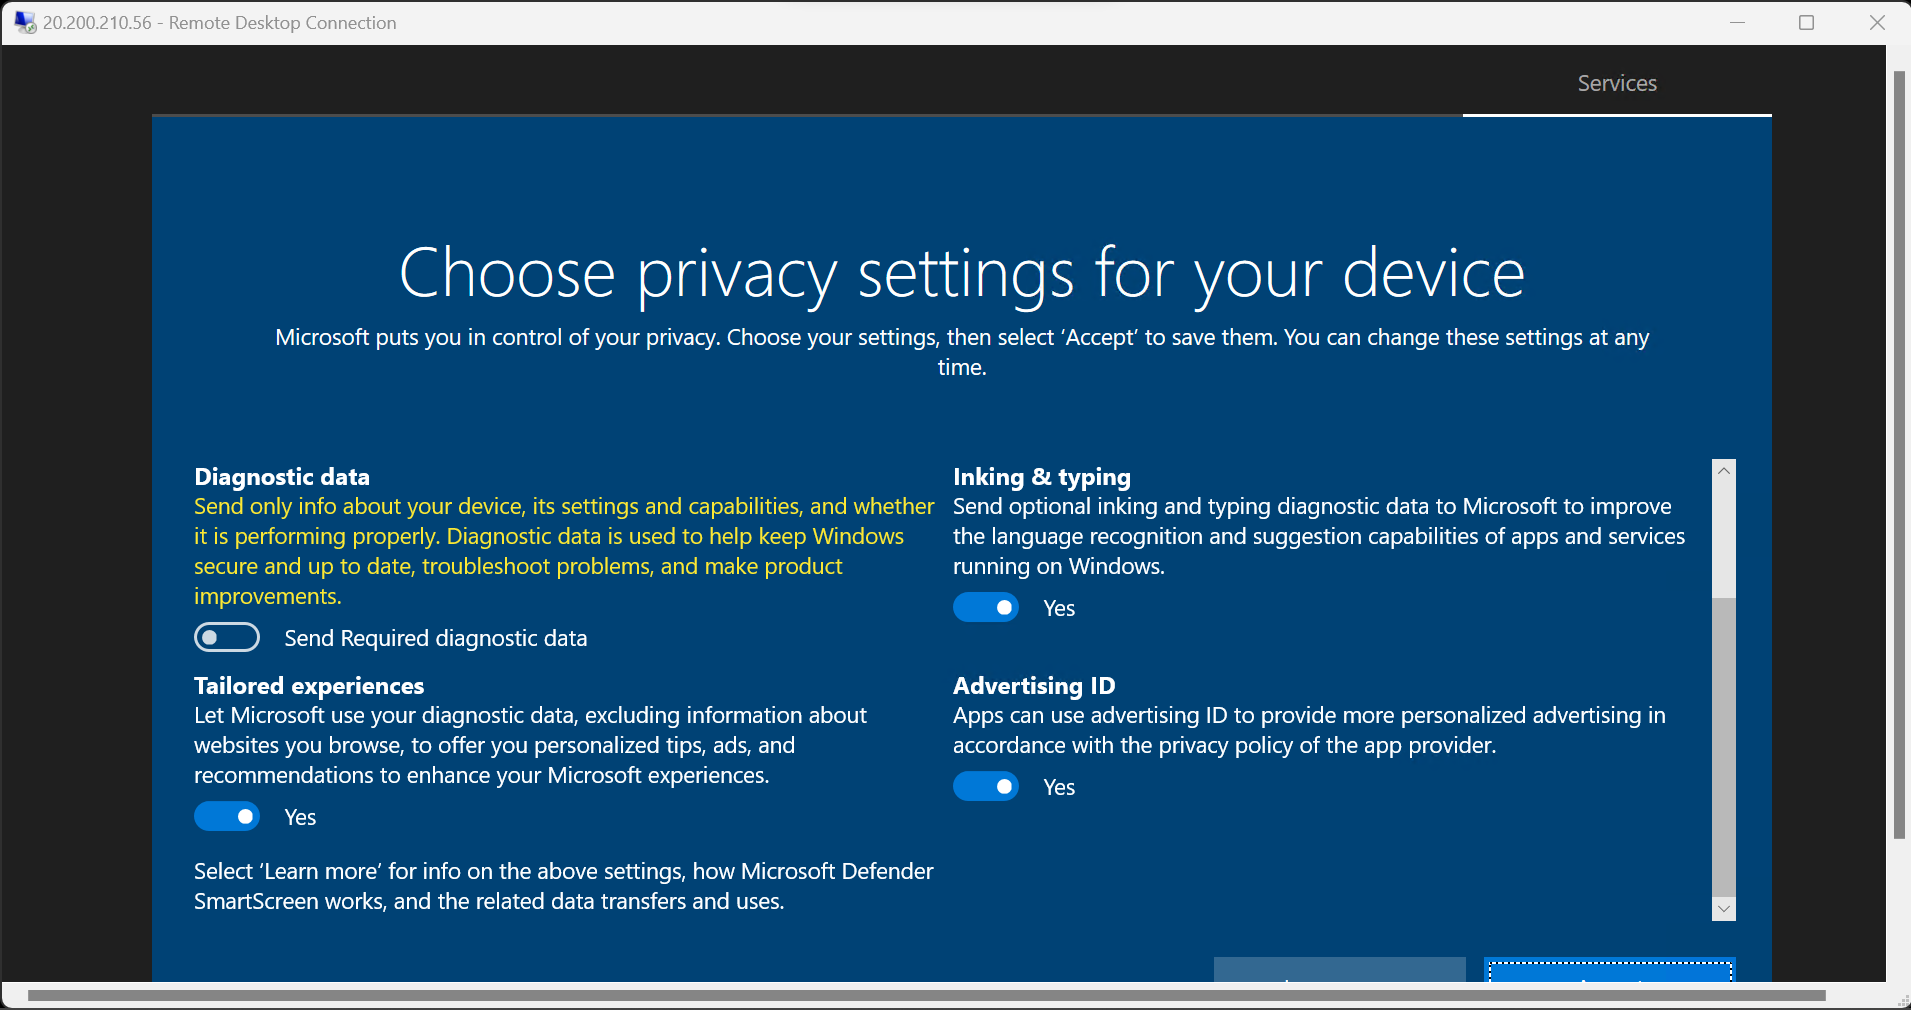
7. Remote into VM we have created.

Open Remote Desktop Connection (RDfP) from start menu and connect to Public IP Address.

Prior to logging into VM, I have failed to login few times so we could get the logs.

8. Turn off Firewall on Windows OS.
Start > Run type "wf.msc" to bring up Windows Defender Firewall

Turn off the Firewall on Domain Profile, Private Profile and Public Profile, then click on Apply, ok.

Prior to turning off the firewall on windows, we could not ping to our VM

After turning off the firewall, we can ping to our VM.

9. Geolocation API based on IP
We will be using 3rd party API tool to extract Geolocation of an IP Address from attackers. This will give us datapoints where the attackers are trying to communicate with our VM.

PowerShell script will be used to extract specific data from Event Viewer log file, in our case, it would be failed RDP login attempt which is logged under Event ID = 4625.

We will be using PowerShell script created by Josh Madakor to Export Custom Security Log with 3rd Party API called ipgeolocation.io
9.1 Creating a PowerShell Script on VM
- Copy the code from Josh Madakor script
- Open Power Shell ISE > Click on New
- Paste the code, and save it as Log_Exporter

9.2 Get a API Key
- Sign up for Geolocation API website (Free)
- Get the API Key

3. Copy and past API key in PowerShell script then run the program

4. As we can see, log has been generated for failed login. This script needs to run in background to get log files from Event Viewer, then parsed it through API for Geolocation. Which then exported to hidden path under C:\ProramData\

10. Update sample Custom Log file from PowerShell
This file will train the log analytics to look for what to look for future looks that will be generated by Windows Security logs.

Copy and past the log file (failed-rdp) from VM to your own computer.

Upload the log file to sample log


State where the custom log will be located on our VM

Name the log file
Note: _CL - Indicate Custom Log at end of the name we have created.

Click on Create

It takes some time for custom logs to fetch the data from Even Viewer and parse the IP address to get the geolocation, then extract to custom log file.
Meanwhile the custom log is being fetch, we can take a look at the logs directly from Security Event where the Event ID is equals to 4625, which is failed log in attempt for RDP.

After awhile, our Custom Log file will start to generate the logs - We can find out more info about the attacker by click on the record, which tell us username, location, time. Etc.

11. Create custom field extract from logs (Regular Expression)
Creating new field to extract specific fields, such as Location, City, Latitude, Longitude, Username. Etc. This information is very useful to have on its own field for further filtering.


Highlight the date we want to extract, in our case we have selected Latitude coordinates.
Select coordinates after latitude on RawData, on the pop up select field tile and field type. Then, click on Extract. This will scan rest of the log data to and guess the latitude coordinates.

Correct any misinterpretation of any data on Search Results.

If the extracted data is incorrect, correct it by amending with correct data.


Once all the data field has been created, we can select those field we created on right hand side.

If any mistake was made during the process of creating Custom Field, this can be amended as shown below.

Now we have all the extracted field extract, any future logs we get will be logged under our new fields. This would take some time to be processed.
Meanwhile we can see all the RDP login attempts below on our VM PowerShell program.

Once the new data is captured, we can see data are extracted in their respective field we have created.

12. Configure Azure Sentinel map (Geolocation based on log)
Go to > Sentinel
In here we can get an overview of our VM network traffic, including Failed RDP

Go to > Workbooks > Add Workbook

Delete default work book by clicking on Edit > Remove.

Add > Add query

Enter the following query, then click on Run.
FAILED_RDP_WITH_GEO_CL | summarize event_count=count() by sourcehost_CF, latitude_CF, longitude_CF, country_CF, label_CF, destinationhost_CF| where destinationhost_CF != "samplehost"| where sourcehost_CF !=
Select the visualisation to map

Map Settings on right gives us an option to choose how to display the attacks either by coordinates or by country names.

We can also set metrics to be displayed under the map, based on the attack. Once Location and Metric values are chosen, click on Apply to view the map.

Save the map by clicking on Save button.
Once all the map settings has been applied, the map should display the RDP login failure attacks based on number of attacks from each country. We can also see the metrics displayed next to location, IP address and number of attacks. This can be changed depending what is being monitored.

we have successfully mapped all RDP failed login attempts based on geolocation through the help of API. This guide simulate the idea of mapping any custom data points captured in Azure Sentinel.
We have seen how many attacks took places, once we have disabled our firewall on Azure virtual machine. The automated bots trying to attack any devices that are opened to the internet using default usernames and passwords, such as Admin or Root .etc.
Here are some best practice to avoid any malicious attacks.
Tips
- Avoid using default username, e.g. admin, root, user1
- Use strong password using alphanumeric characters, or alternately use password manager.
- Enable multi-factor authentication to apply layers of security. E.g. 2FA
- Keep your software up to date with latest security patches.
- Monitor your log for signs of unusual activity
- Use a SIEM to collect, store, and analyse security logs from multiple sources.
Hope you find this guide useful 😊
Member discussion